Day 27: We Got Totally Plastered
Sunday 18th August
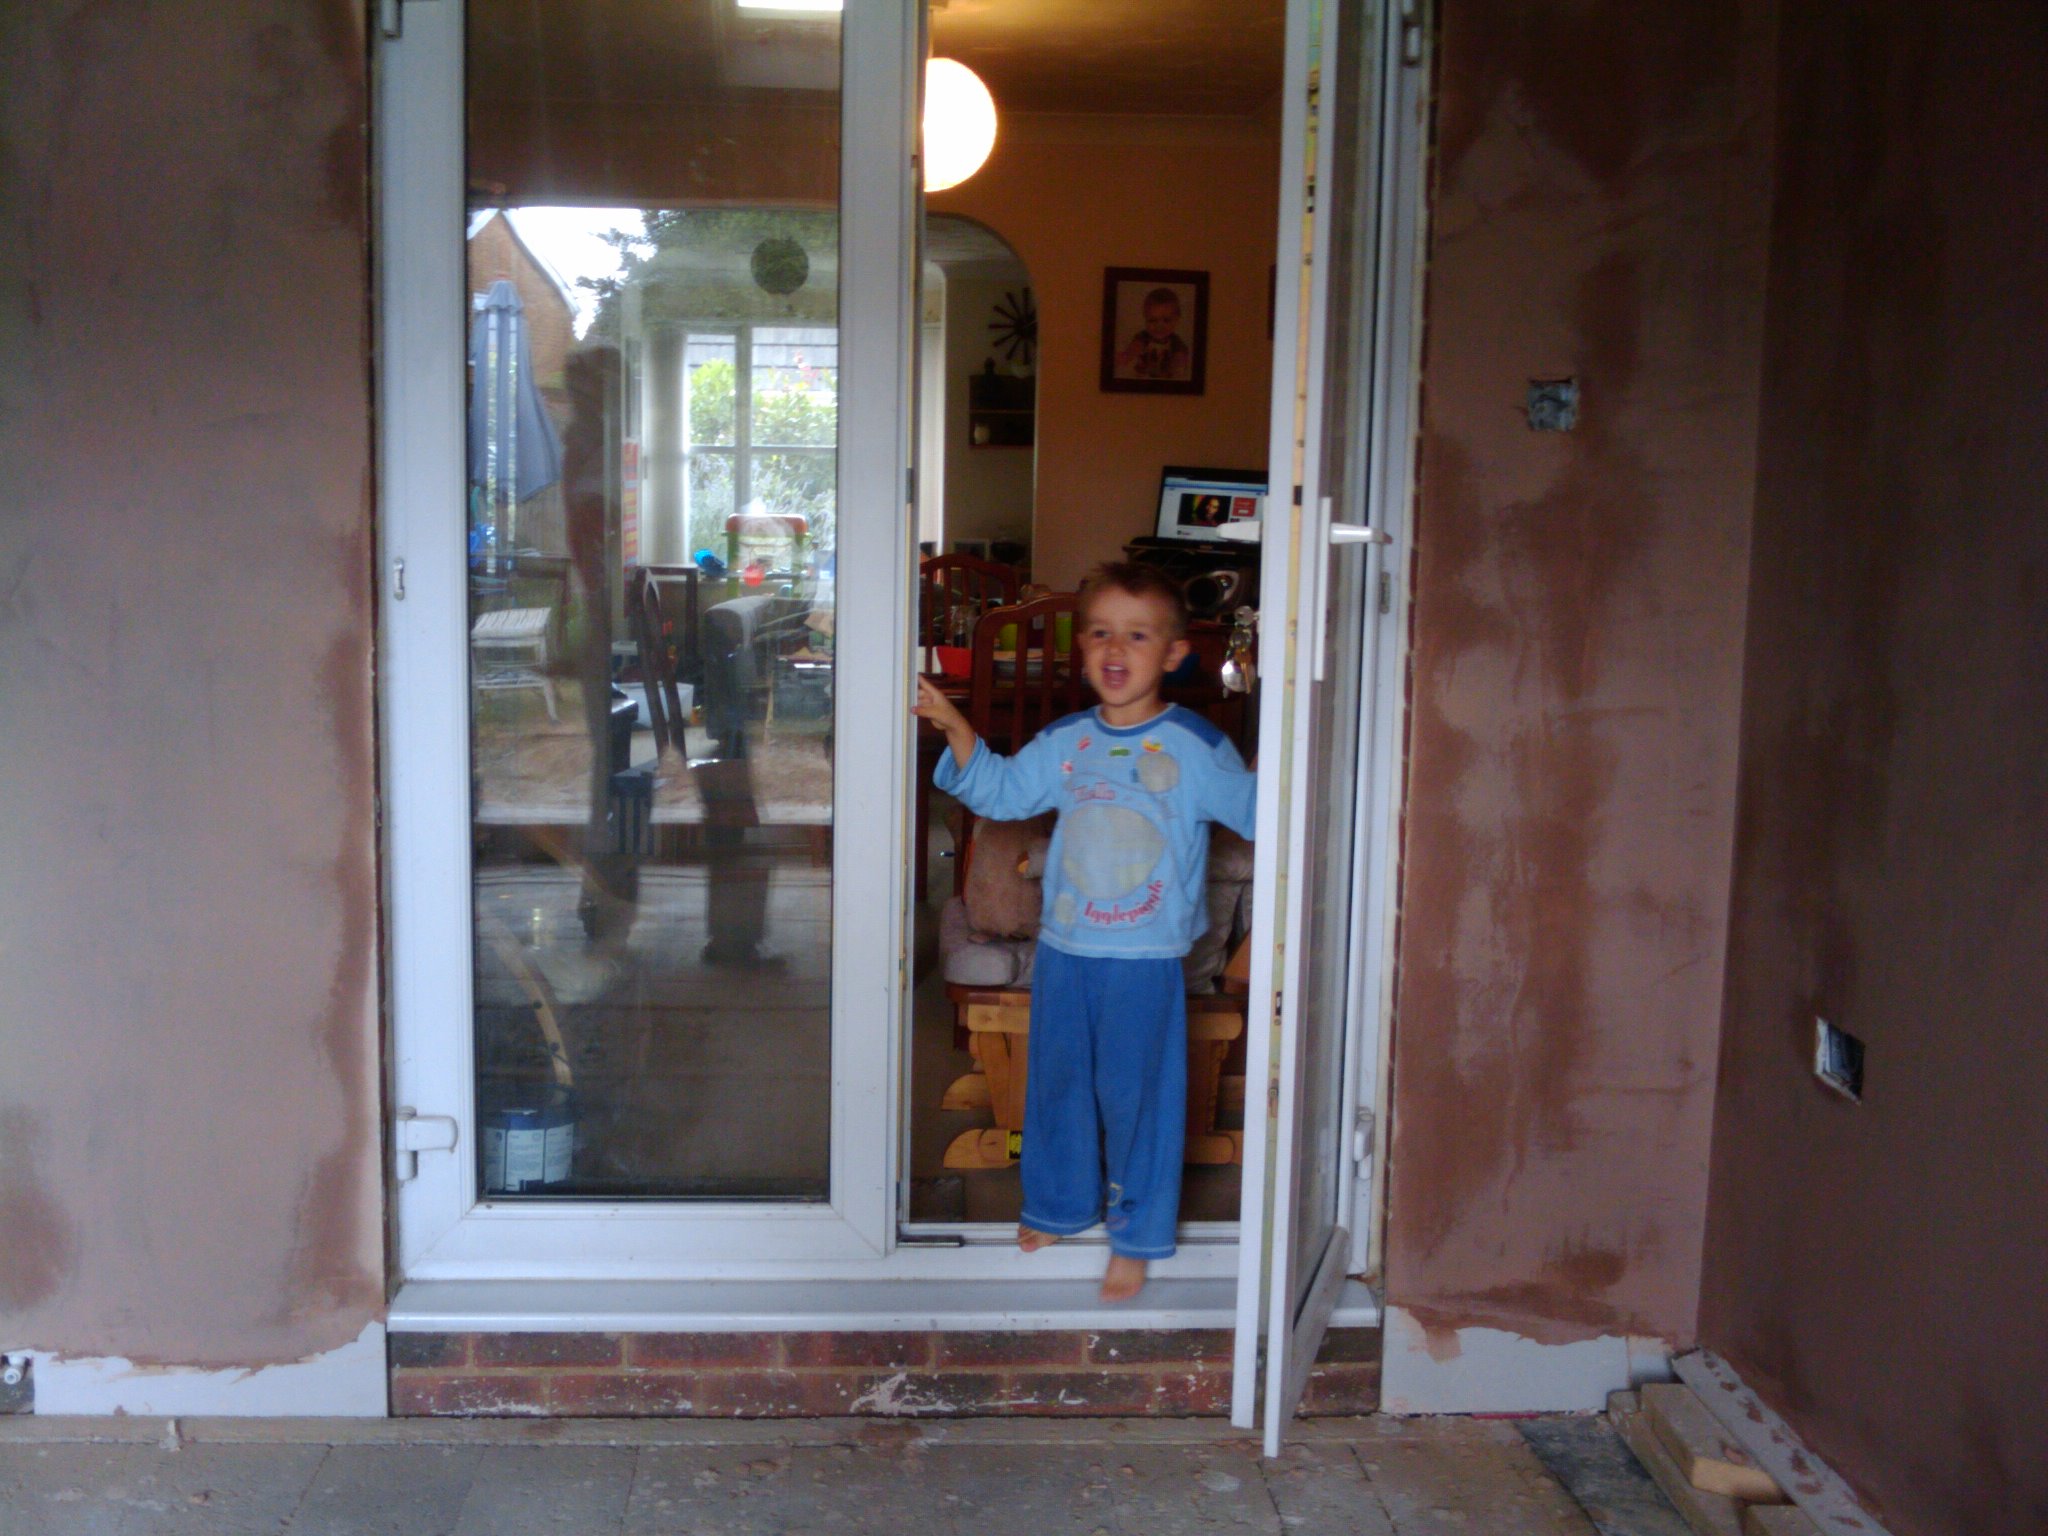
Today the whole room and the bricked up kitchen window were plastered. 2 plasterers worked hard from 8am until about 1pm. Great job done. Photos below.
Apparently the plaster will go from pink to a darker colour while it is drying and then go back to its lighter pink colour when it is completely dry and ready for painting.
Plastering is rather messy. When the kitchen window was plastered we had plaster all over the sink, tap, floor and even on my cafetiere. The plasterer cleaned everything up though – except my coffee pot!
What is plaster?
Plaster is a soft mixture of sand and cement. Sometimes lime and water is added to improve its texture. It is like a really thick, gloopy soup that is smeared on the walls and smoothed off. When it dries is forms a smooth, solid surface that can be painted.
Plaster needs to be thoroughly mixed – our plasterers used an industrial whisk-like tool (called a mixing paddle) fitted to an electric drill and mixed it up in a big bucket.
There are several different types of plaster mix that you can buy, depending on the finish you are looking for and how it is applied. British Gypsum seems to be the main company, Screwfix stock their products.
- Plasterboard Jointing Compound – this is often pre-mixed and made for the joining of boards to create a smooth, continuous finish. Tape is used to join the boards to remove gaps and this is applied on top. It is also used to cover screws / nail head.
- Bonding coat undercoat plaster – this produces a smooth undercoat, is made from Gypsum Plaster and is a grey/pink colour.
- Multi-Finish gypsum plaster – another smooth plaster for internal walls and ceilings on “suction backgrounds”, i.e. backgrounds that absorb. It is good for undercoats, plasterboards, re-skimming, small jobs and patching
- Hardwall plaster – an undercoat plaster used direct on masonry.
- One Coat Plaster – a gypsum-based plaster for internal walls. Designed for easy application on to brick, plasterboard, blocks and expanded metal lath. To be applied in 11mm thickness. Can be build up to make it thicker.
- Bonding Coat – for low suctions surfaces, such as plasterboard and concrete. A fine mix making it easily workable and easy to spread and smooth.
- Dri-Coat – A special plaster that is cement based and made for replastering after an installation of a new damp-proof course.
There is certainly a lot more to plastering than meets the eye!
In short, old fashioned plastering would have been direct on to block or bricks, with several layers of plaster. An undercoat would act as a water repellent (with cement) to prevent the top layer getting damp. Modern method is with plasterboard and sometimes a single “skim” of plaster.
Getting a skilled / experienced plasterer really makes a huge difference to the finish – I had the new extension done by a plasterer and the new internal walls done by the builders. There is a definite difference in the quality of the finish.
Tommy’s Trade Secrets – How To Plaster A Plasterboard
If you are tempted to do your own plastering, Tommy Trade’s Secrets provides a very good lesson. The tutorial is in two parts. The first is preparation of the plasterboard with taping
Part 2:
Photos of the finished work
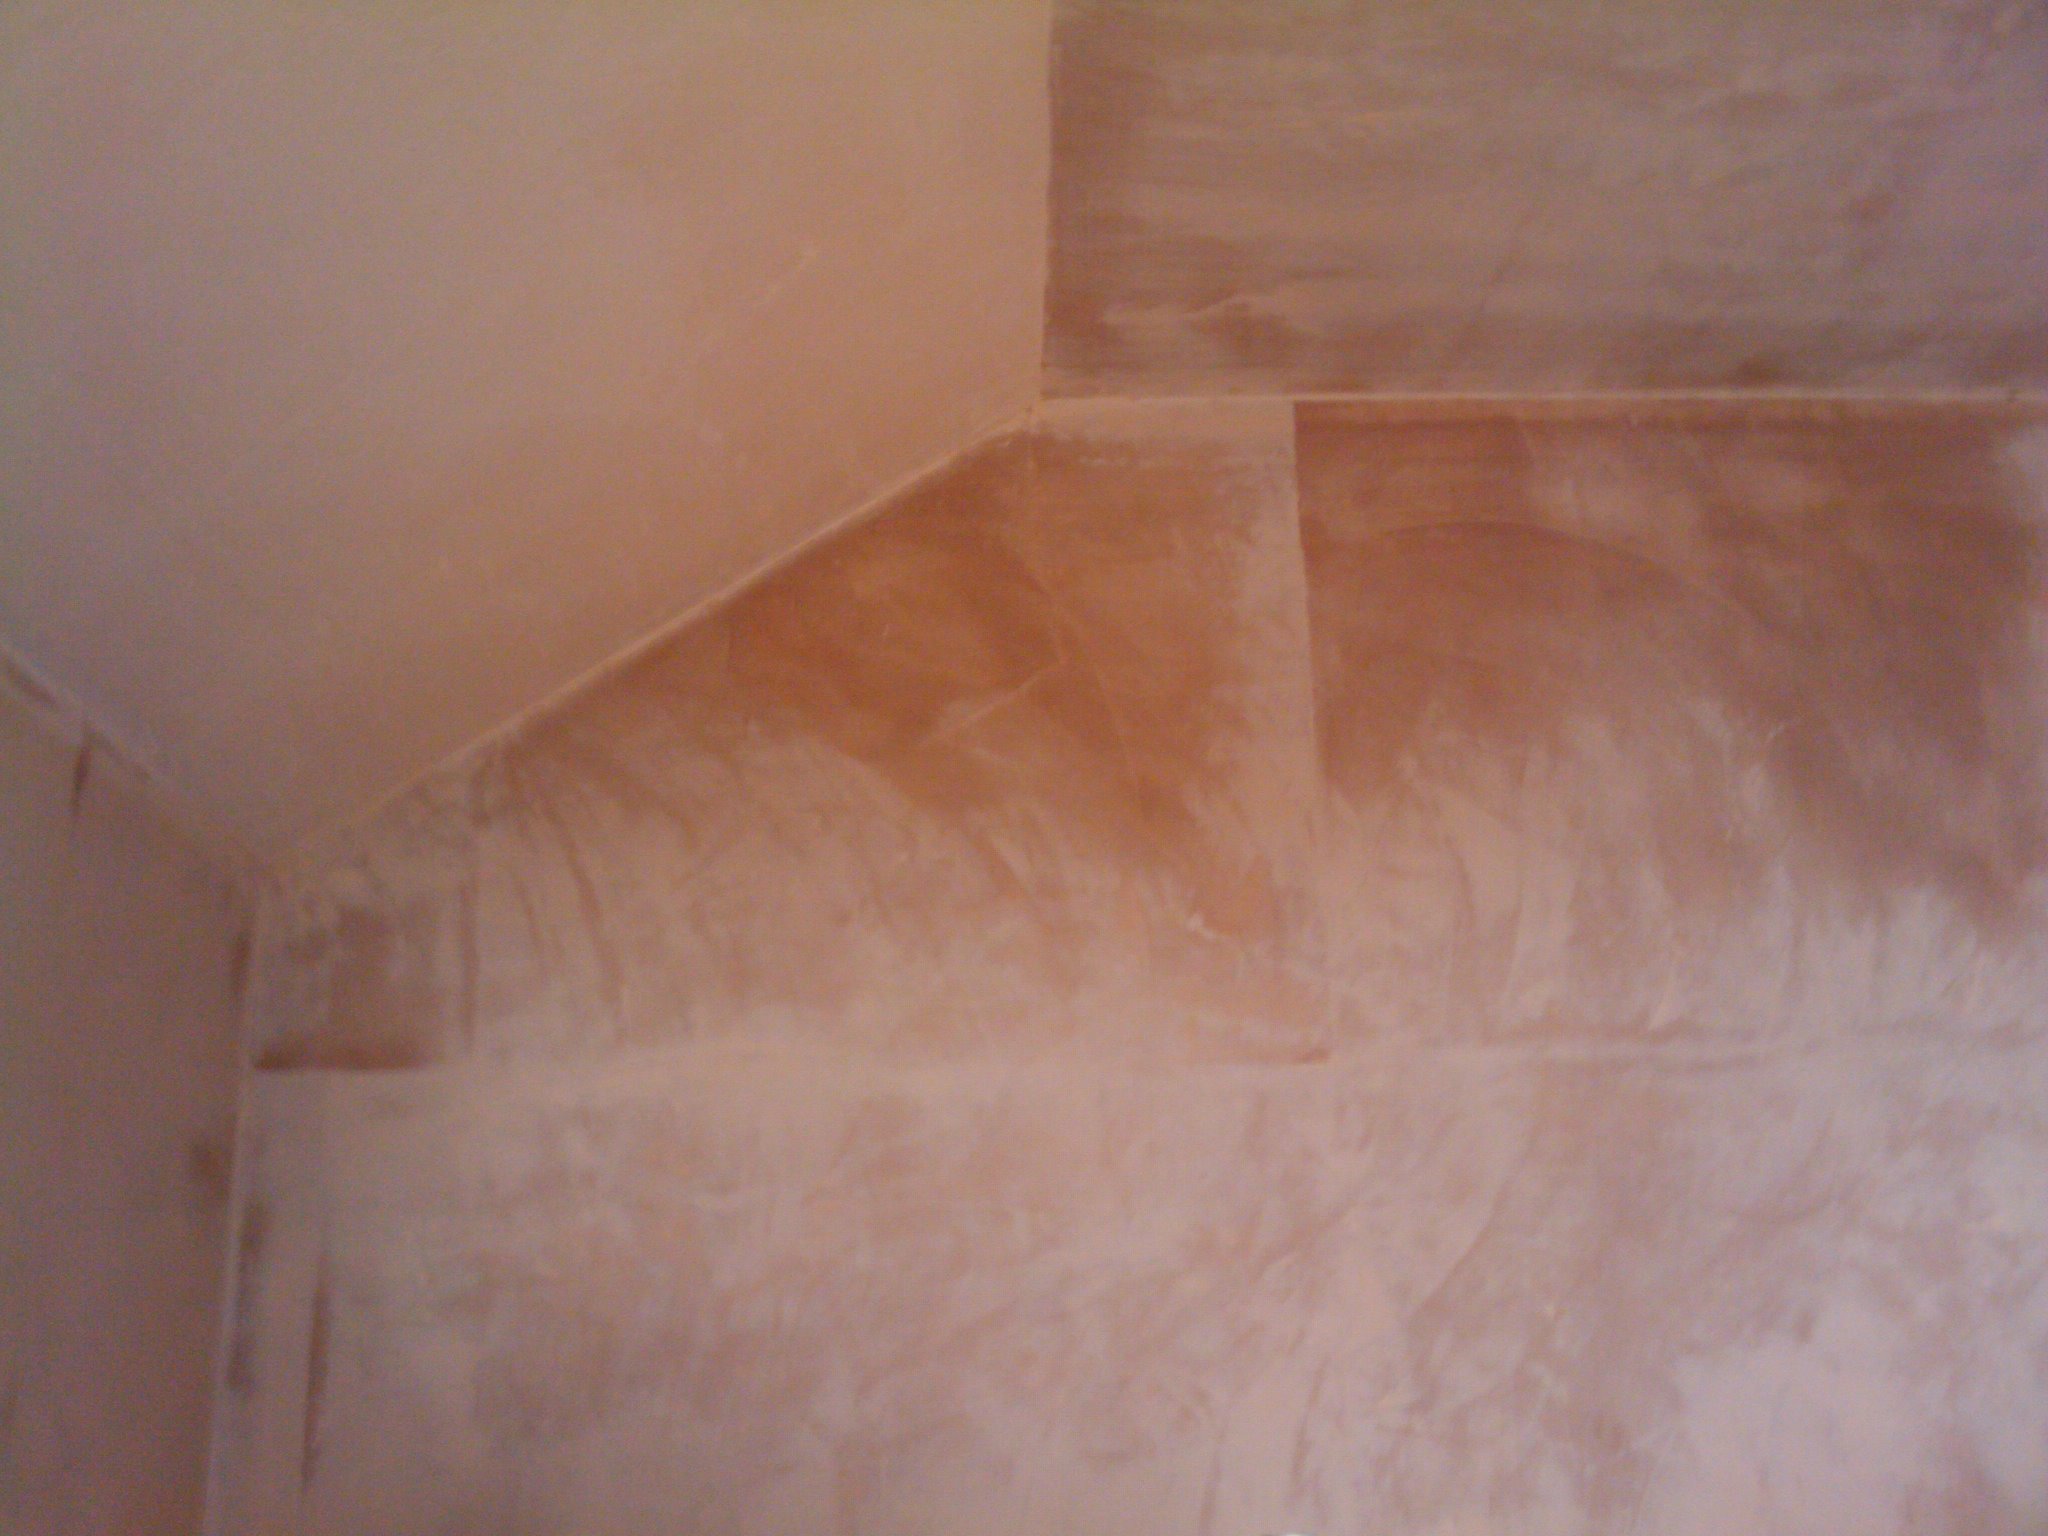
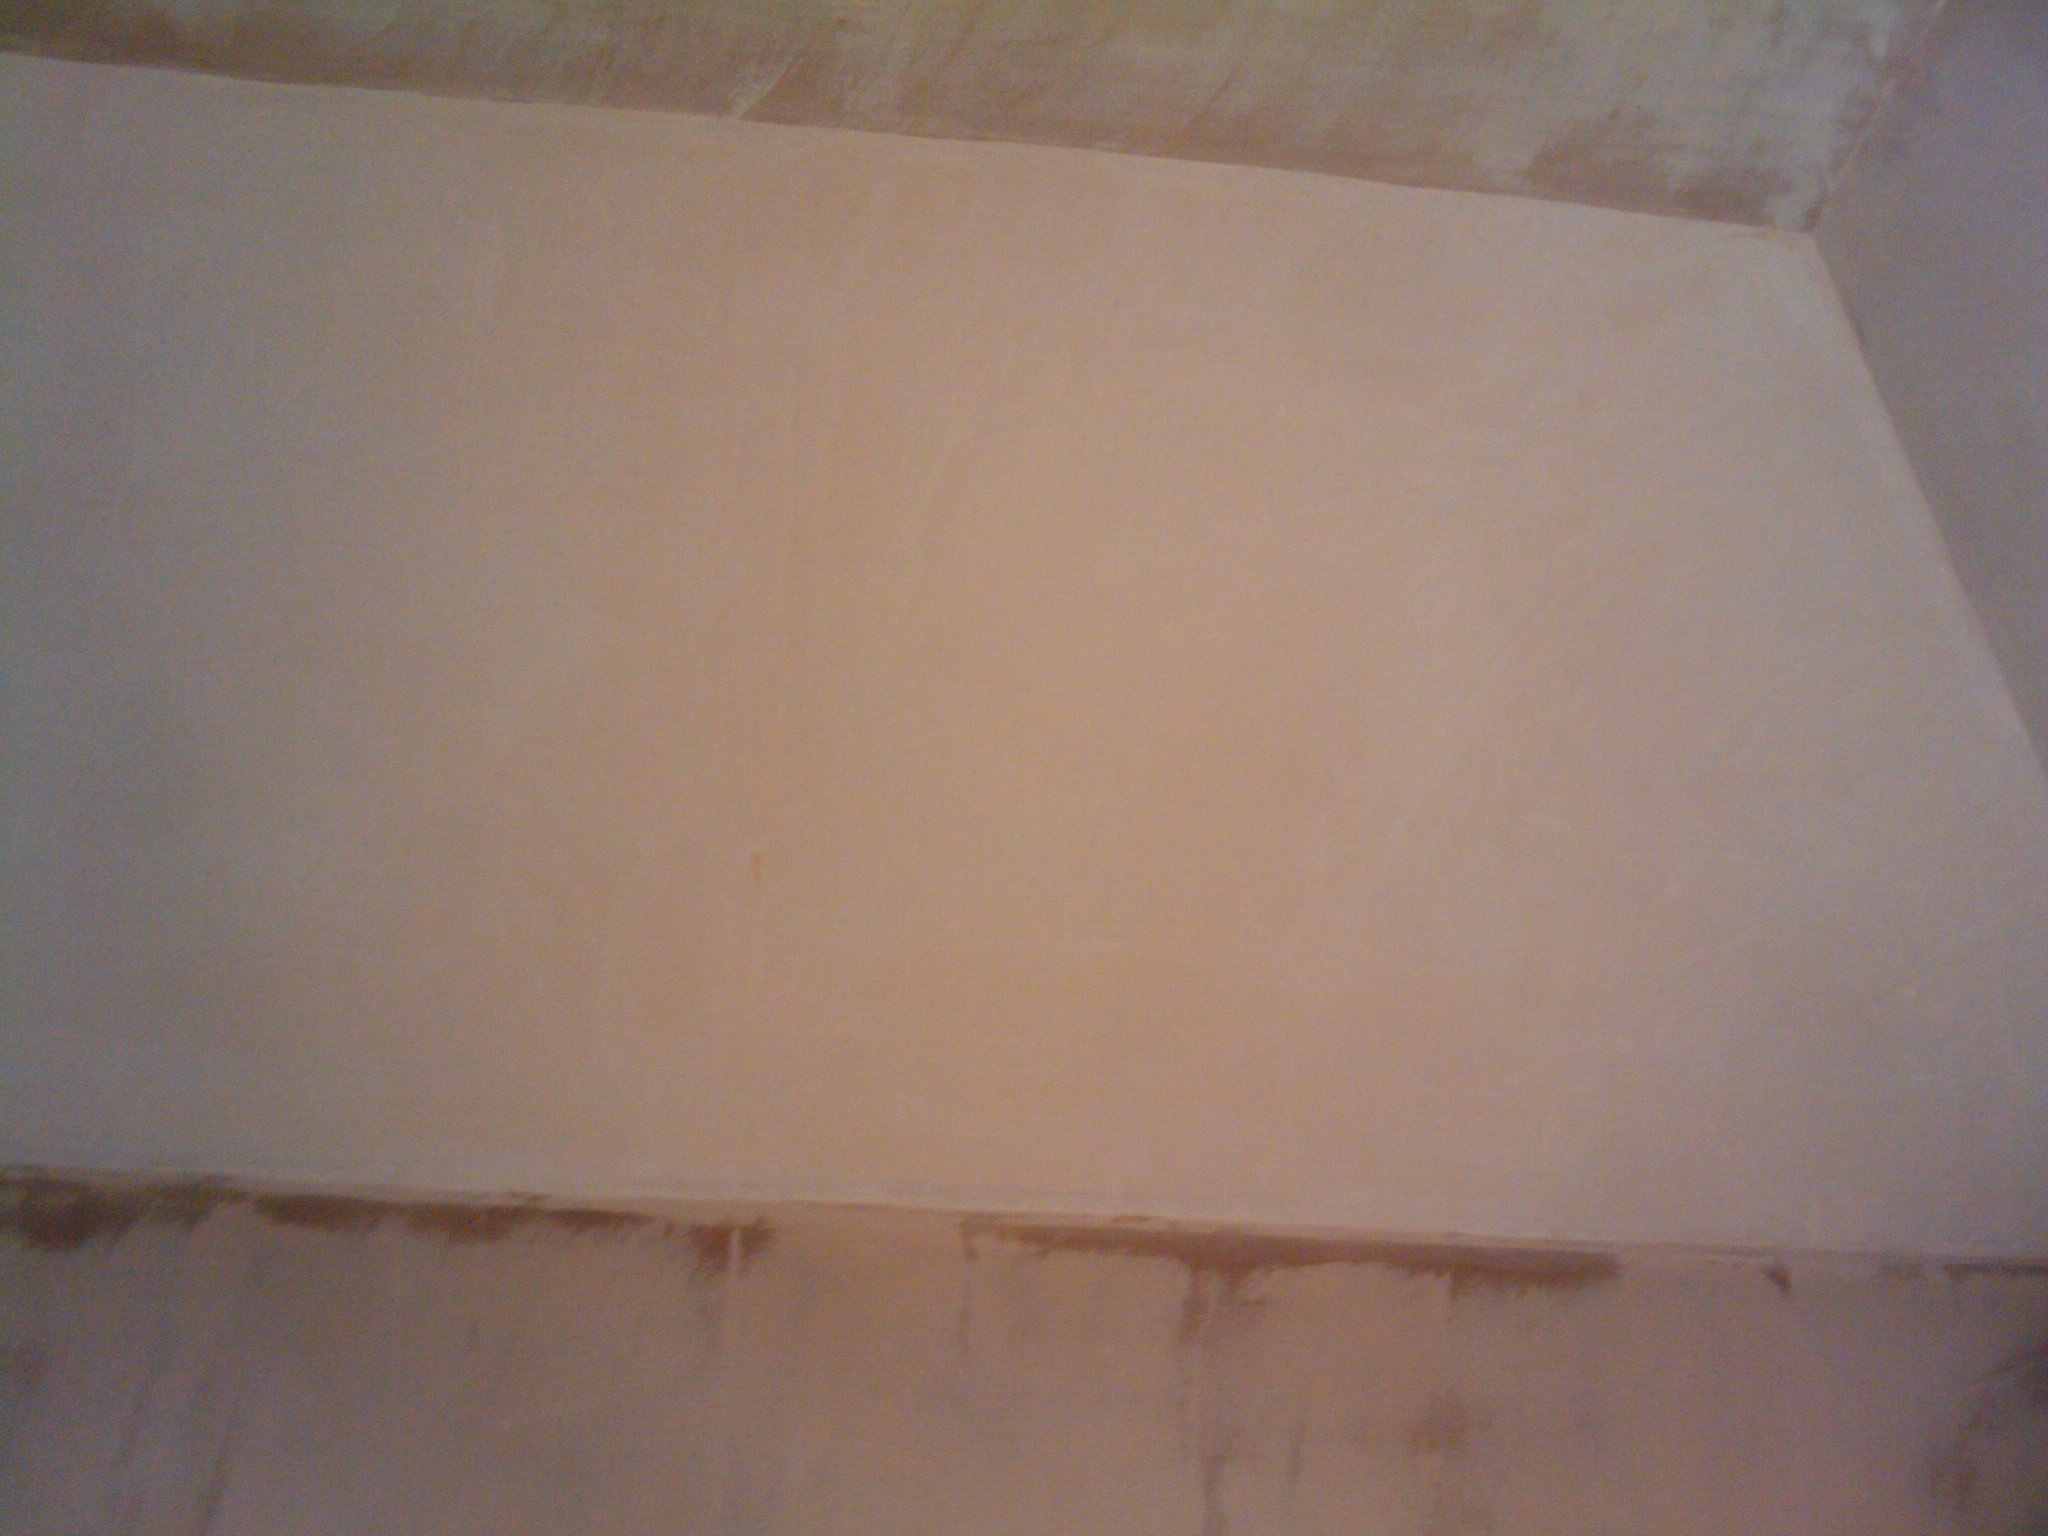
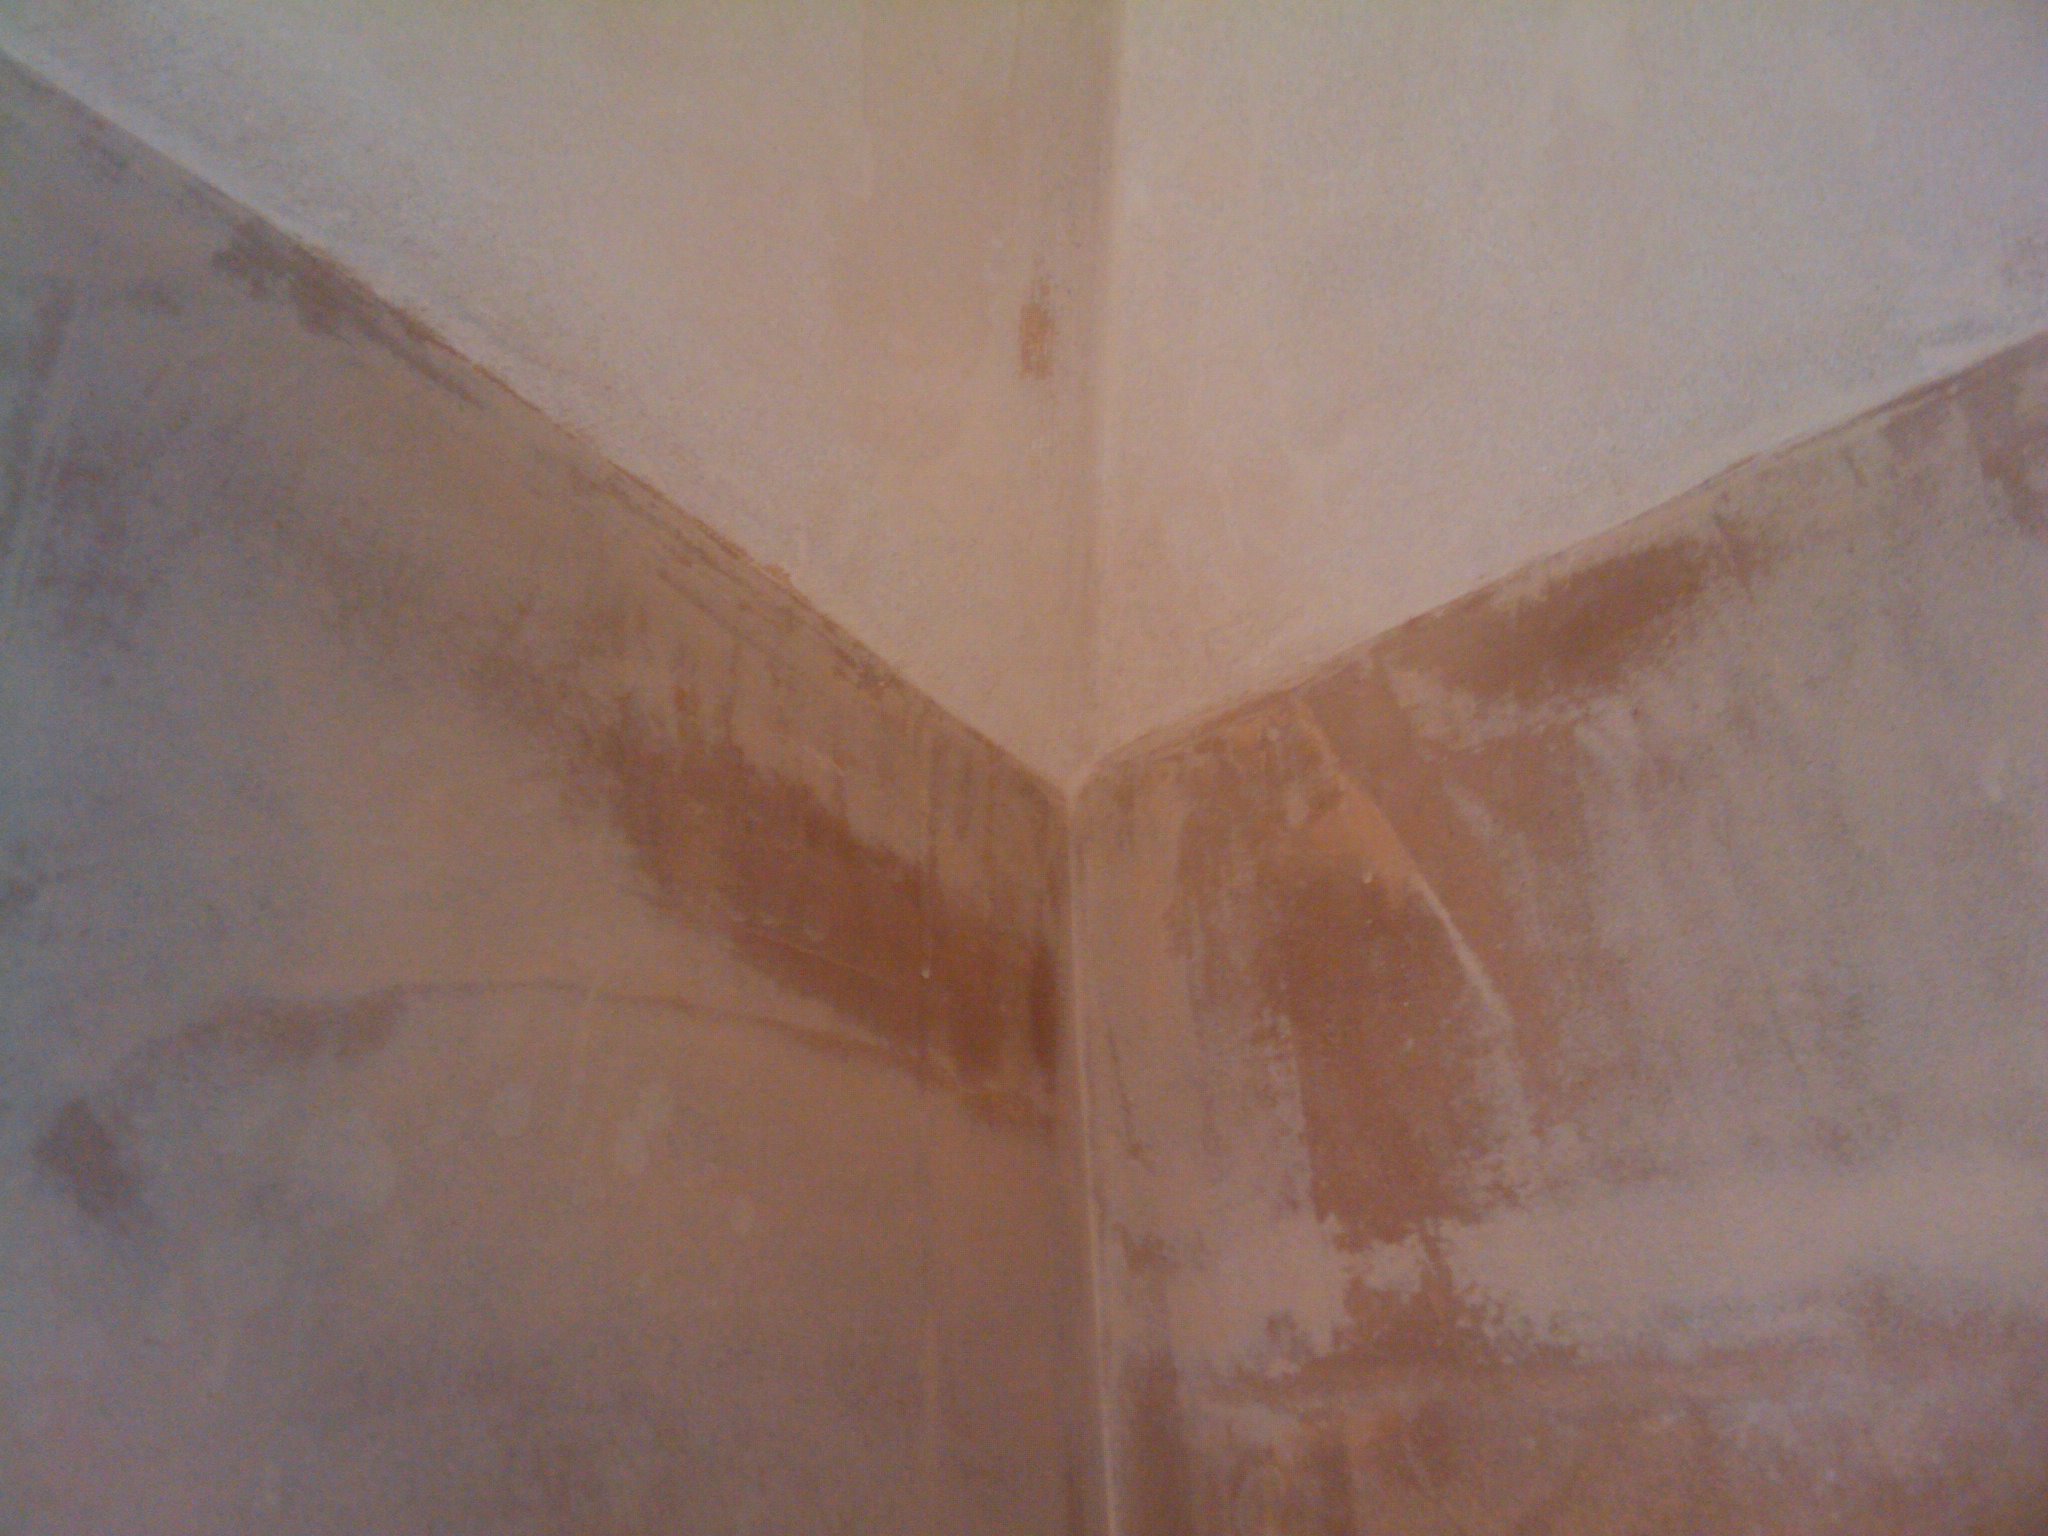
Corner of roof and wall plastered
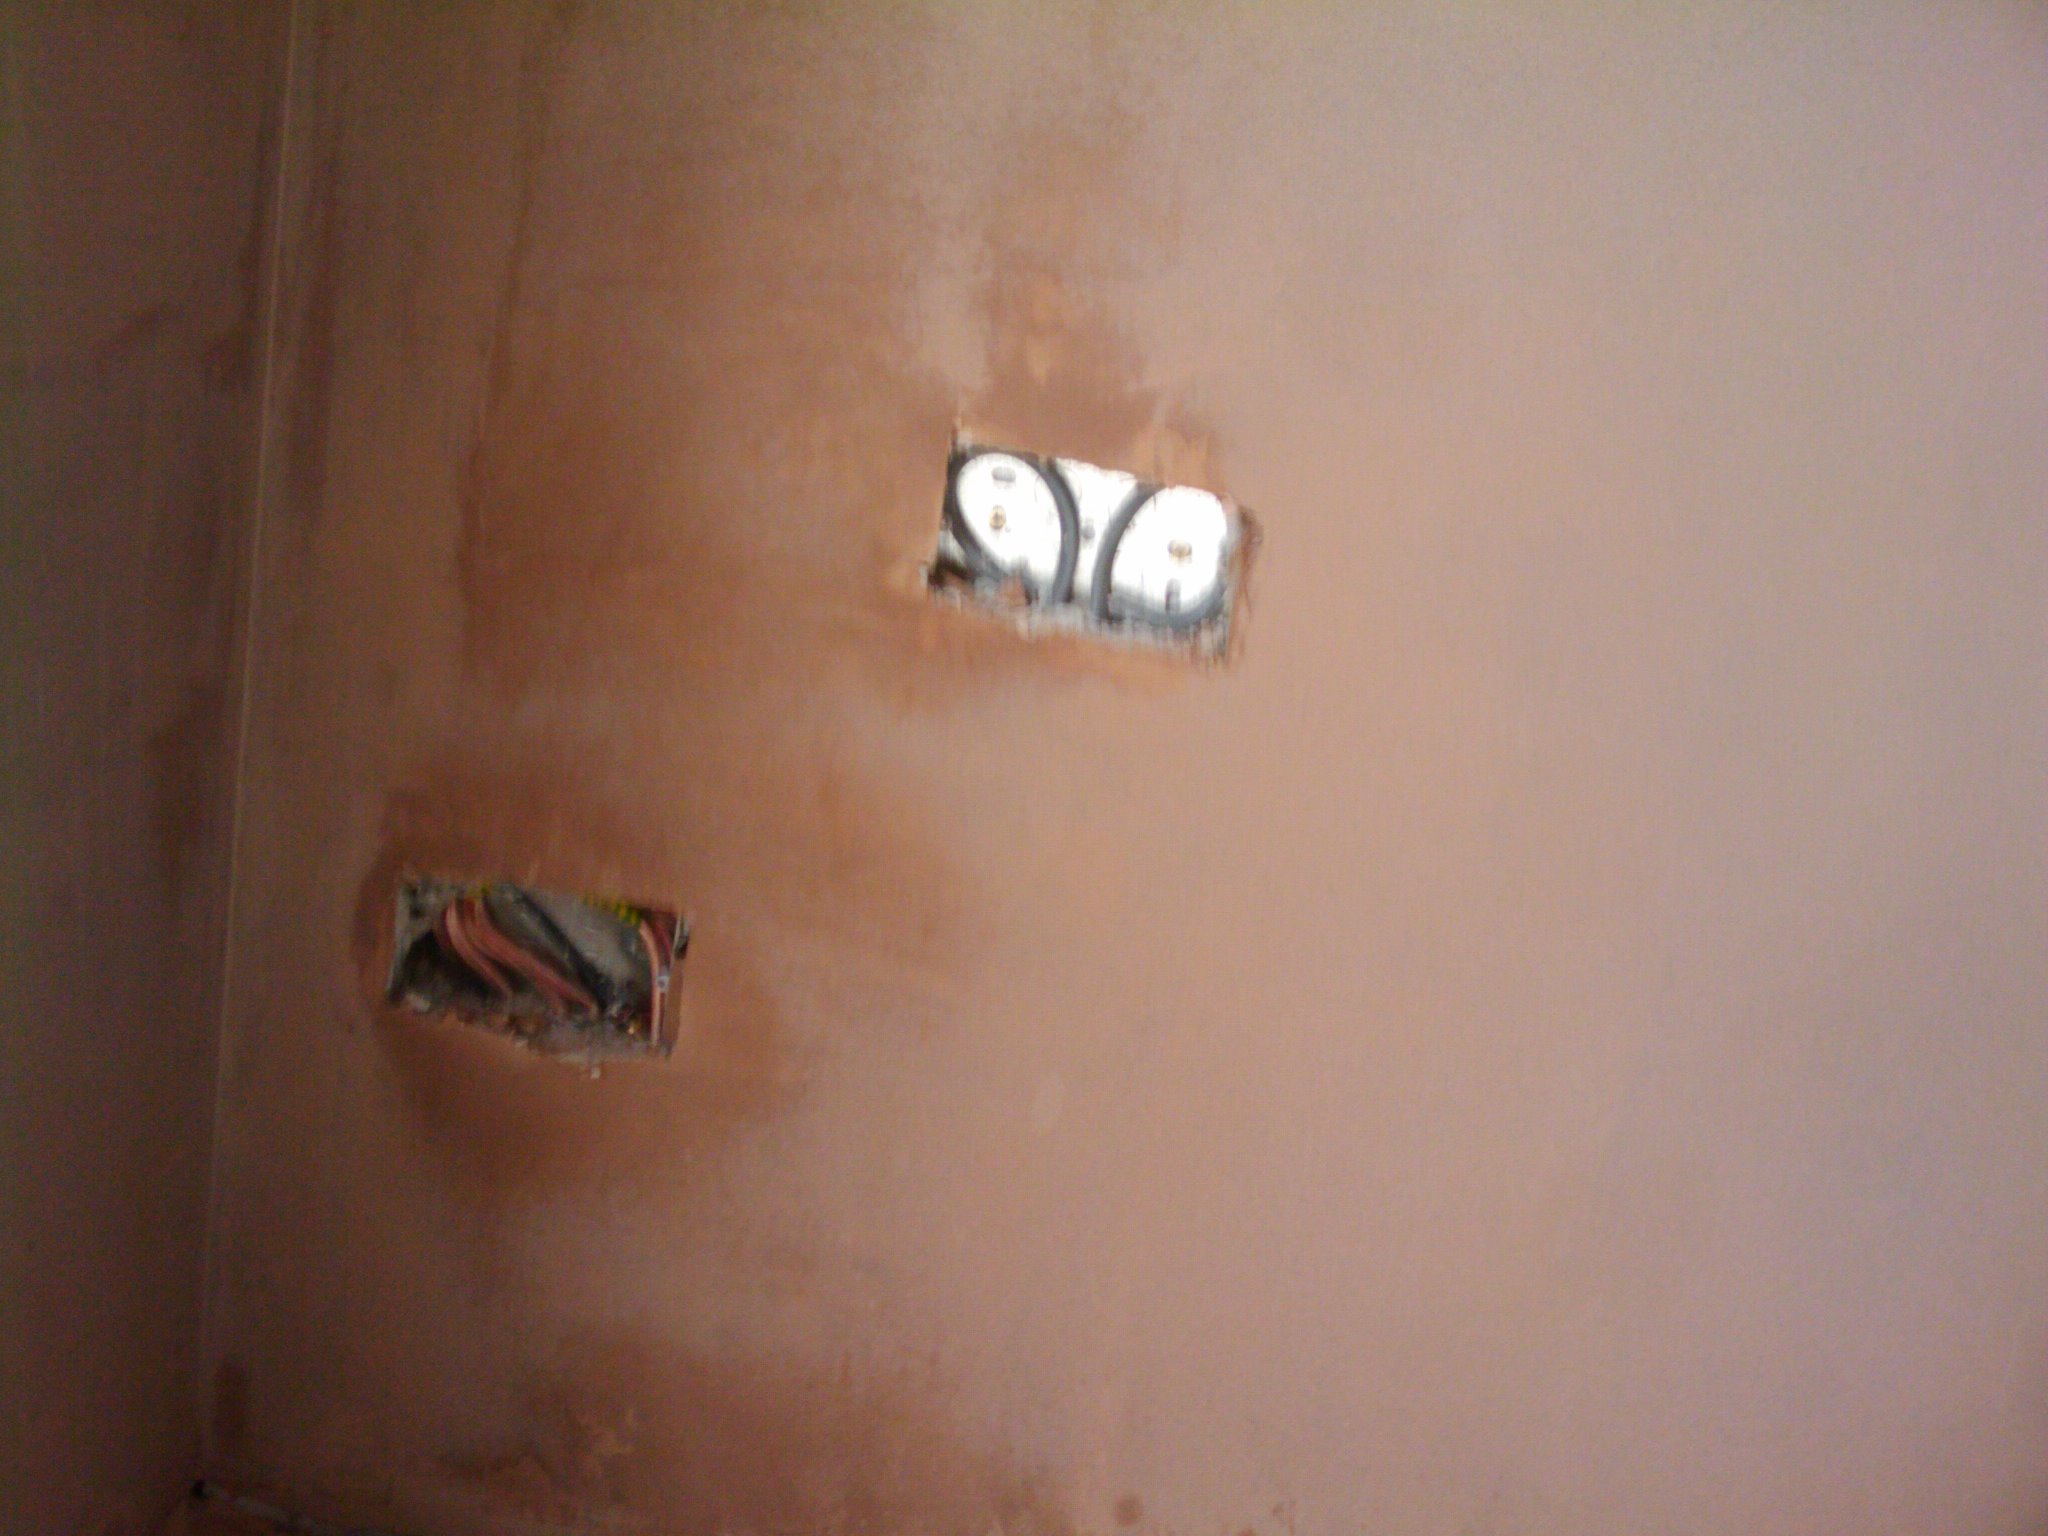
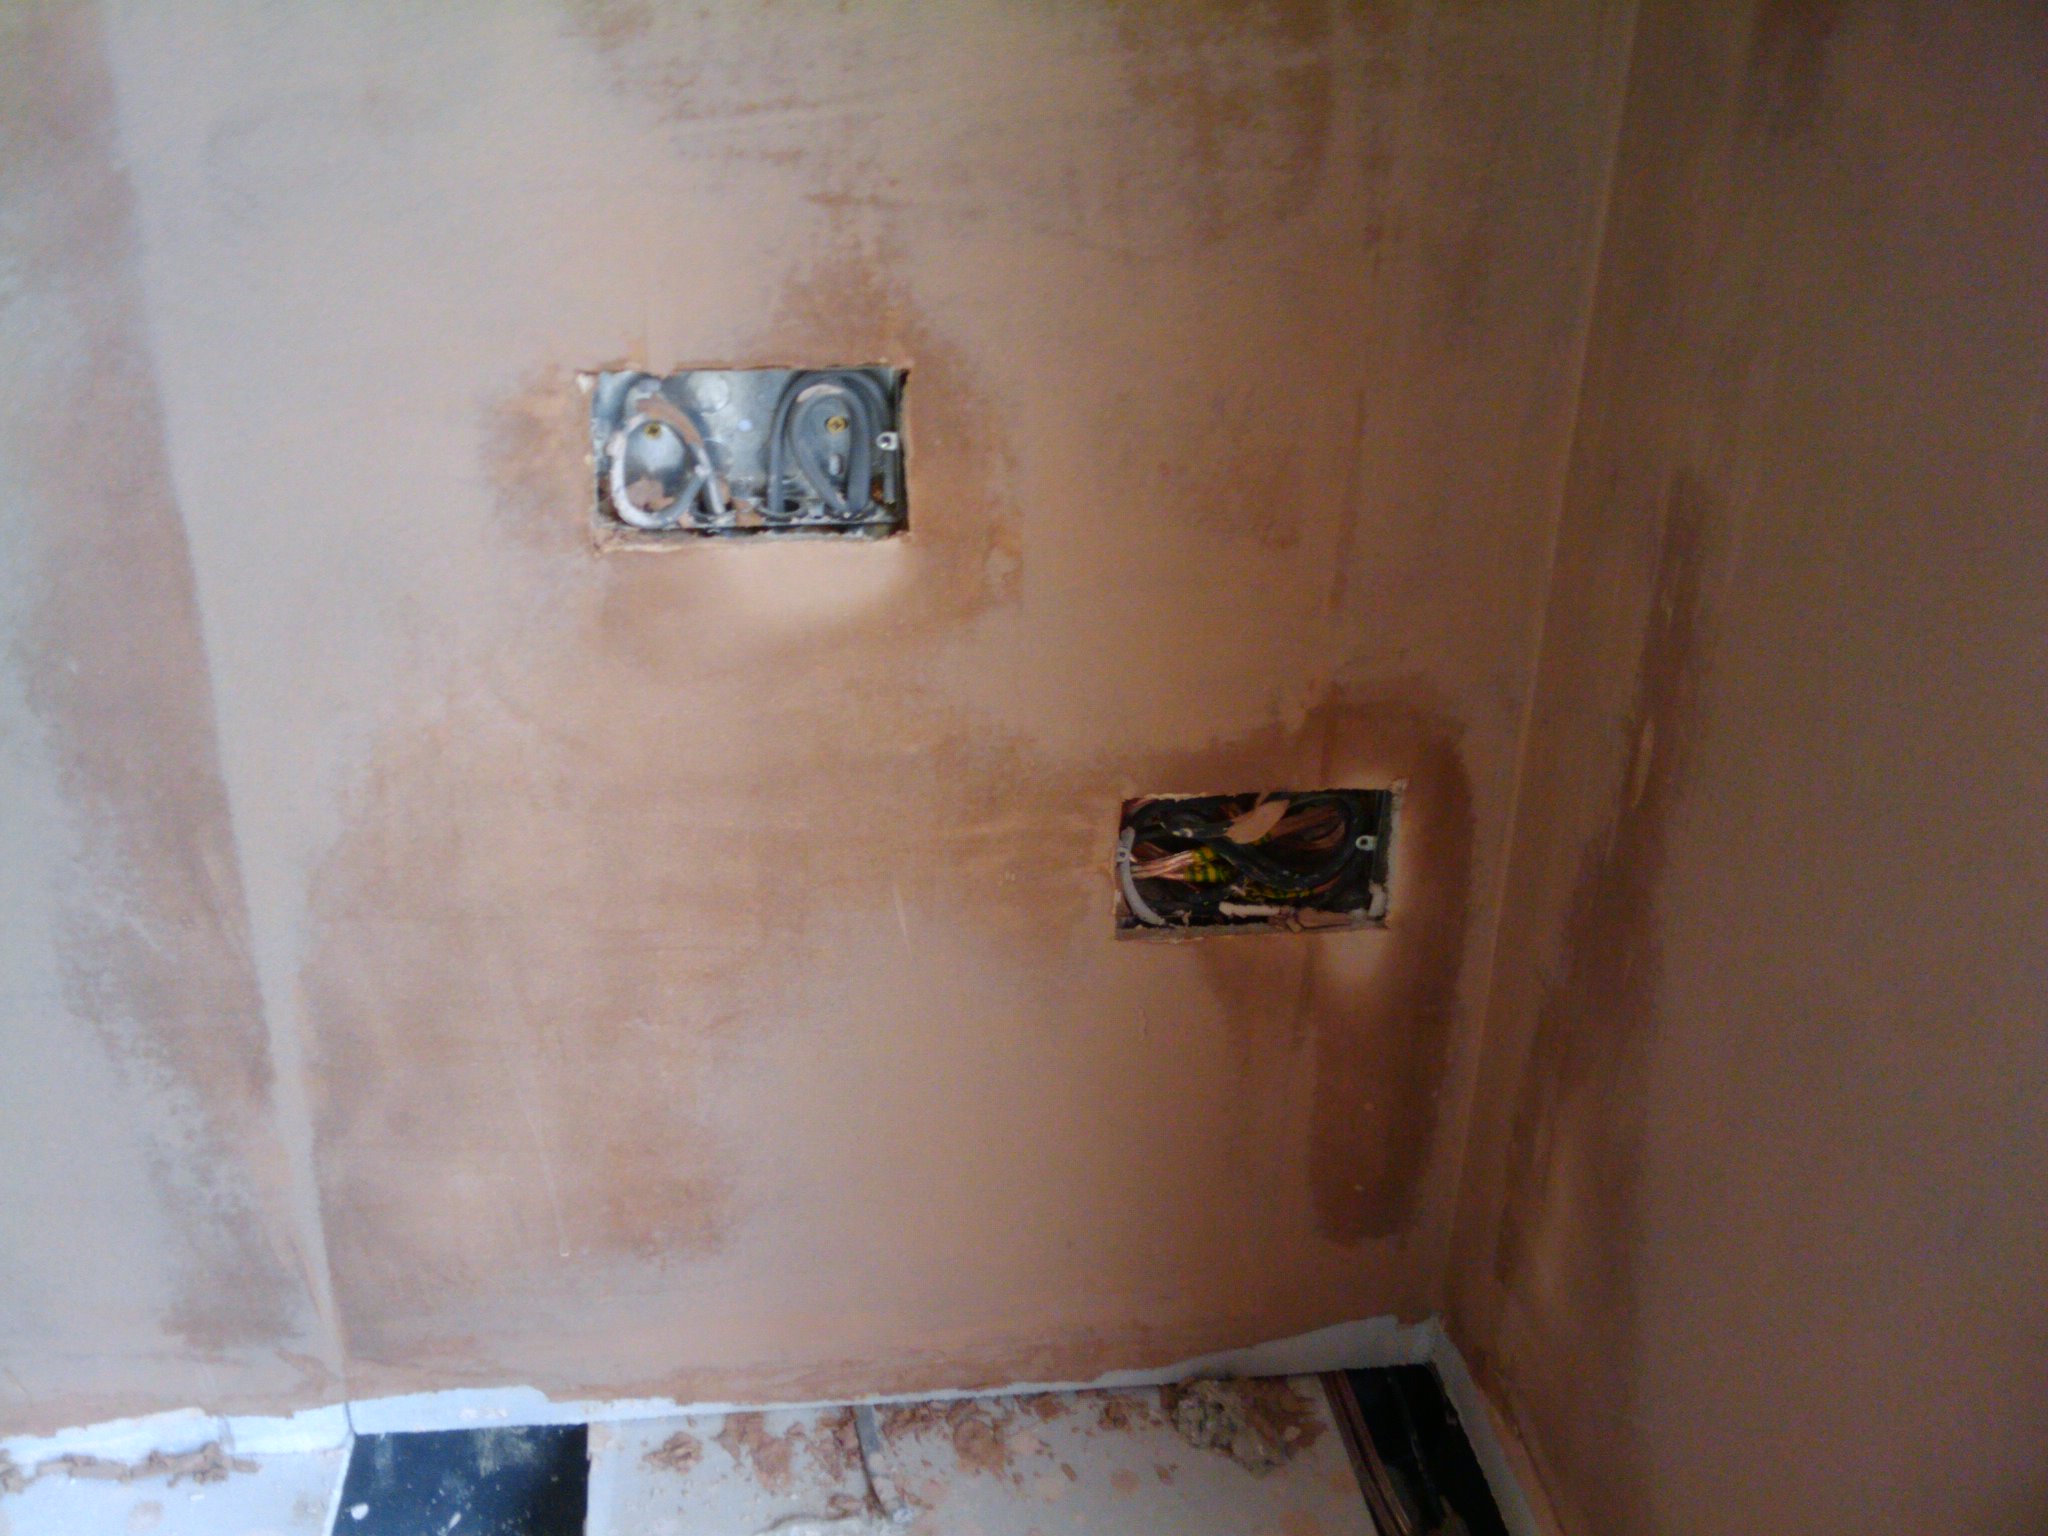
Plaster around the plug sockets
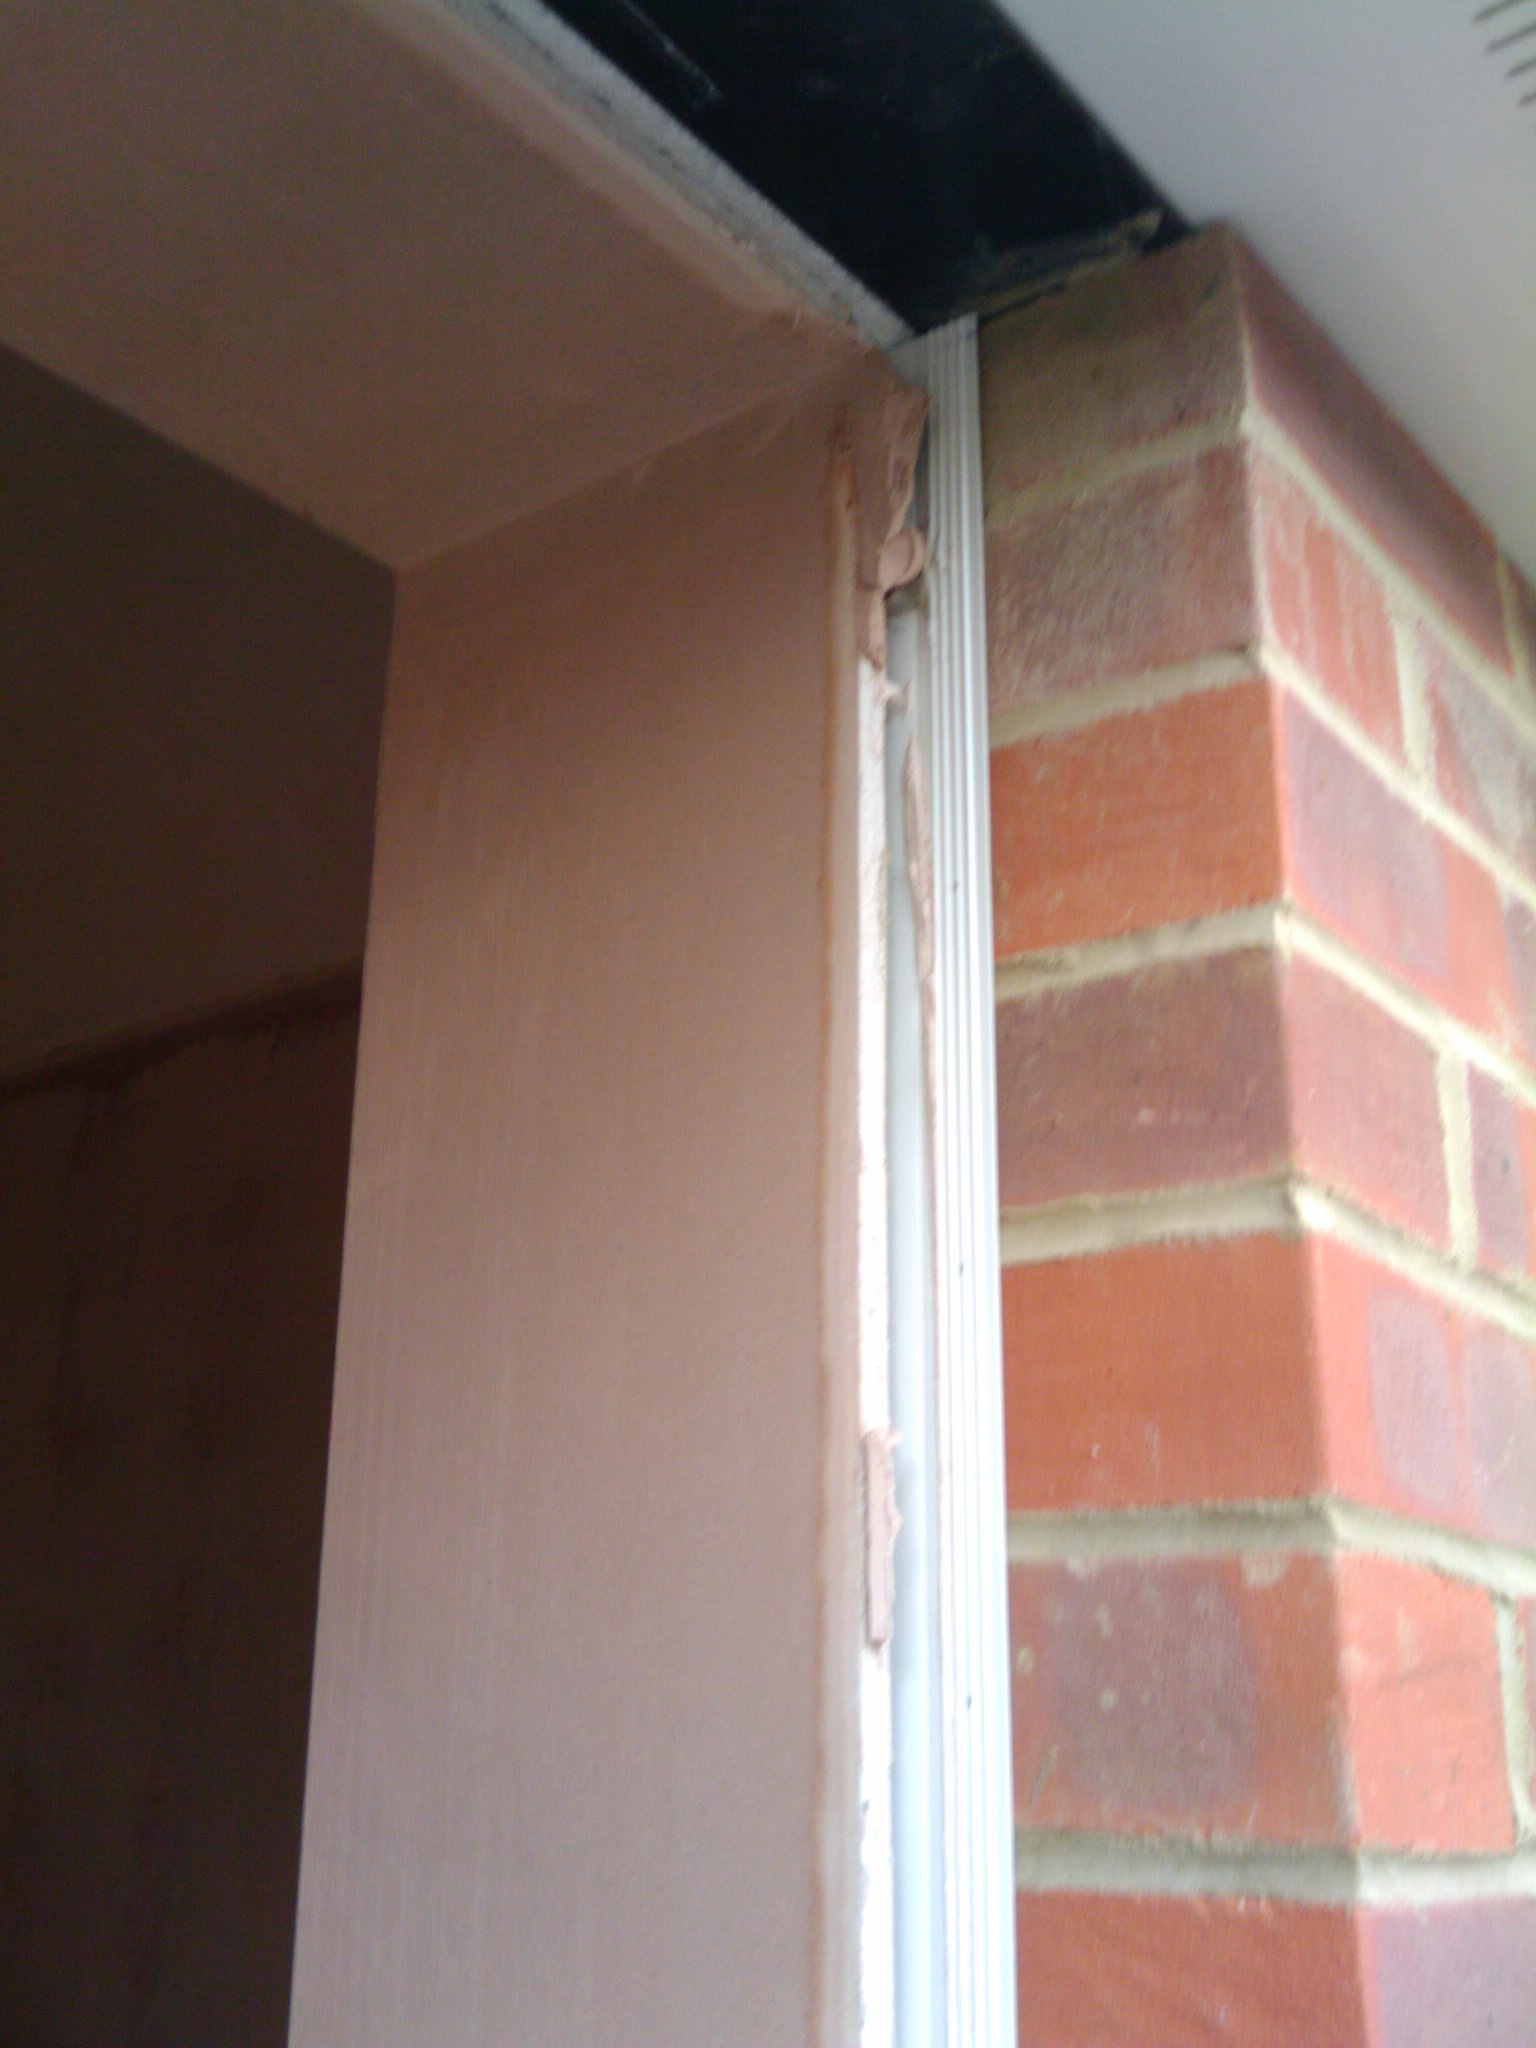
French window opening plastered
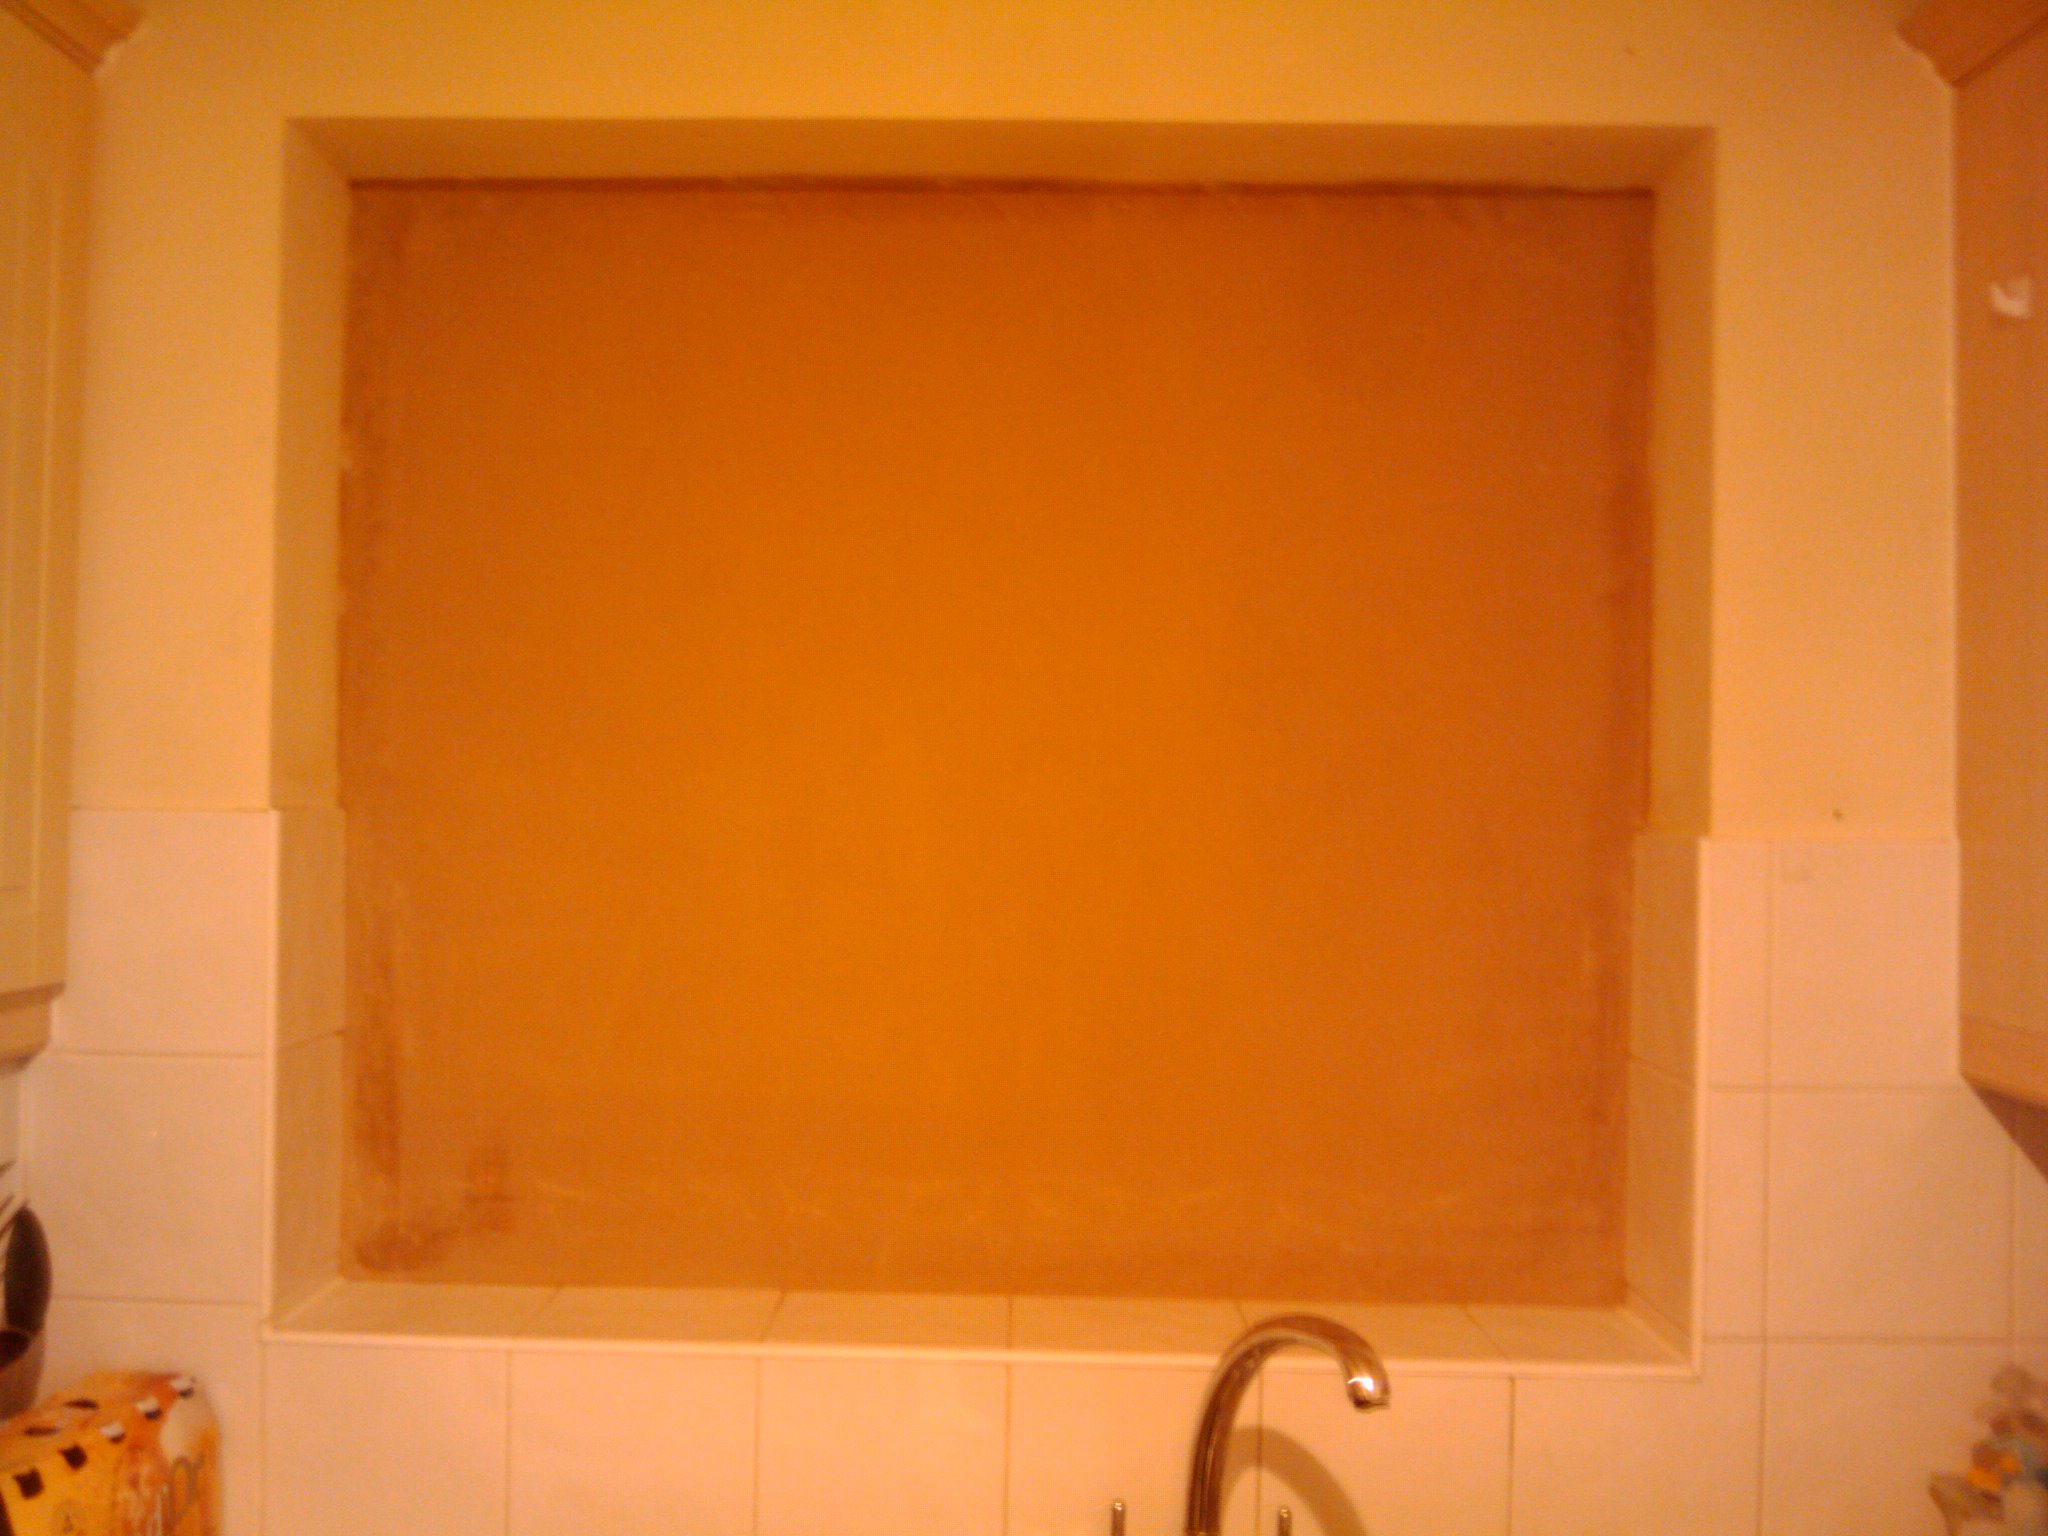
Plastered up window
More plaster
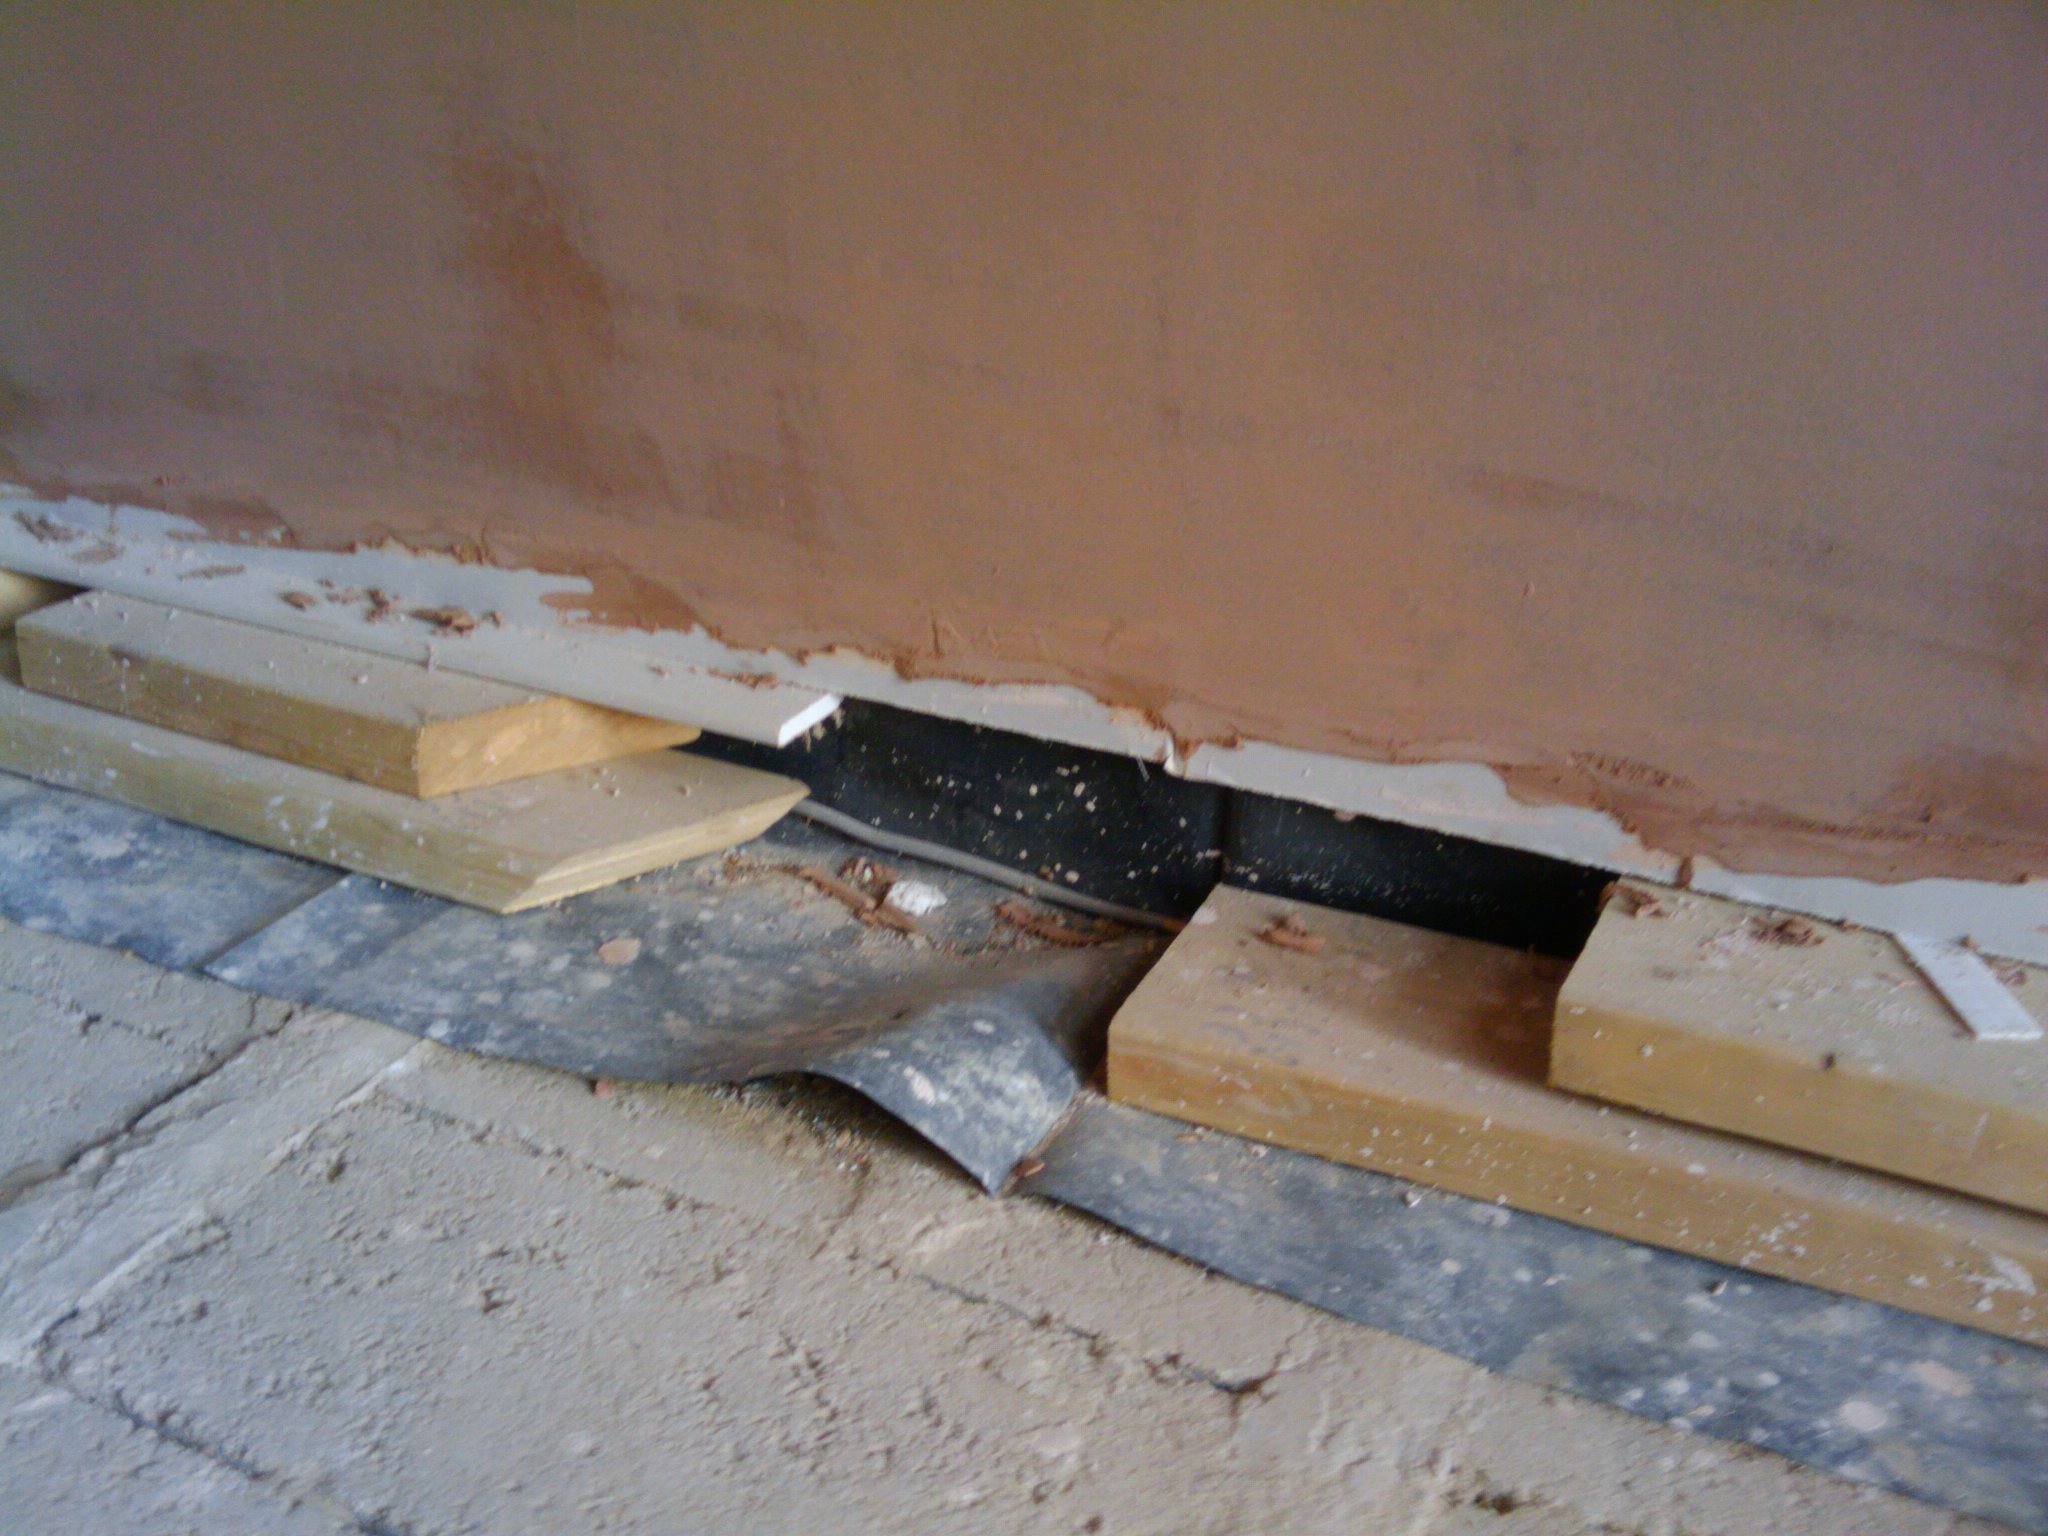
Plastered to the floor
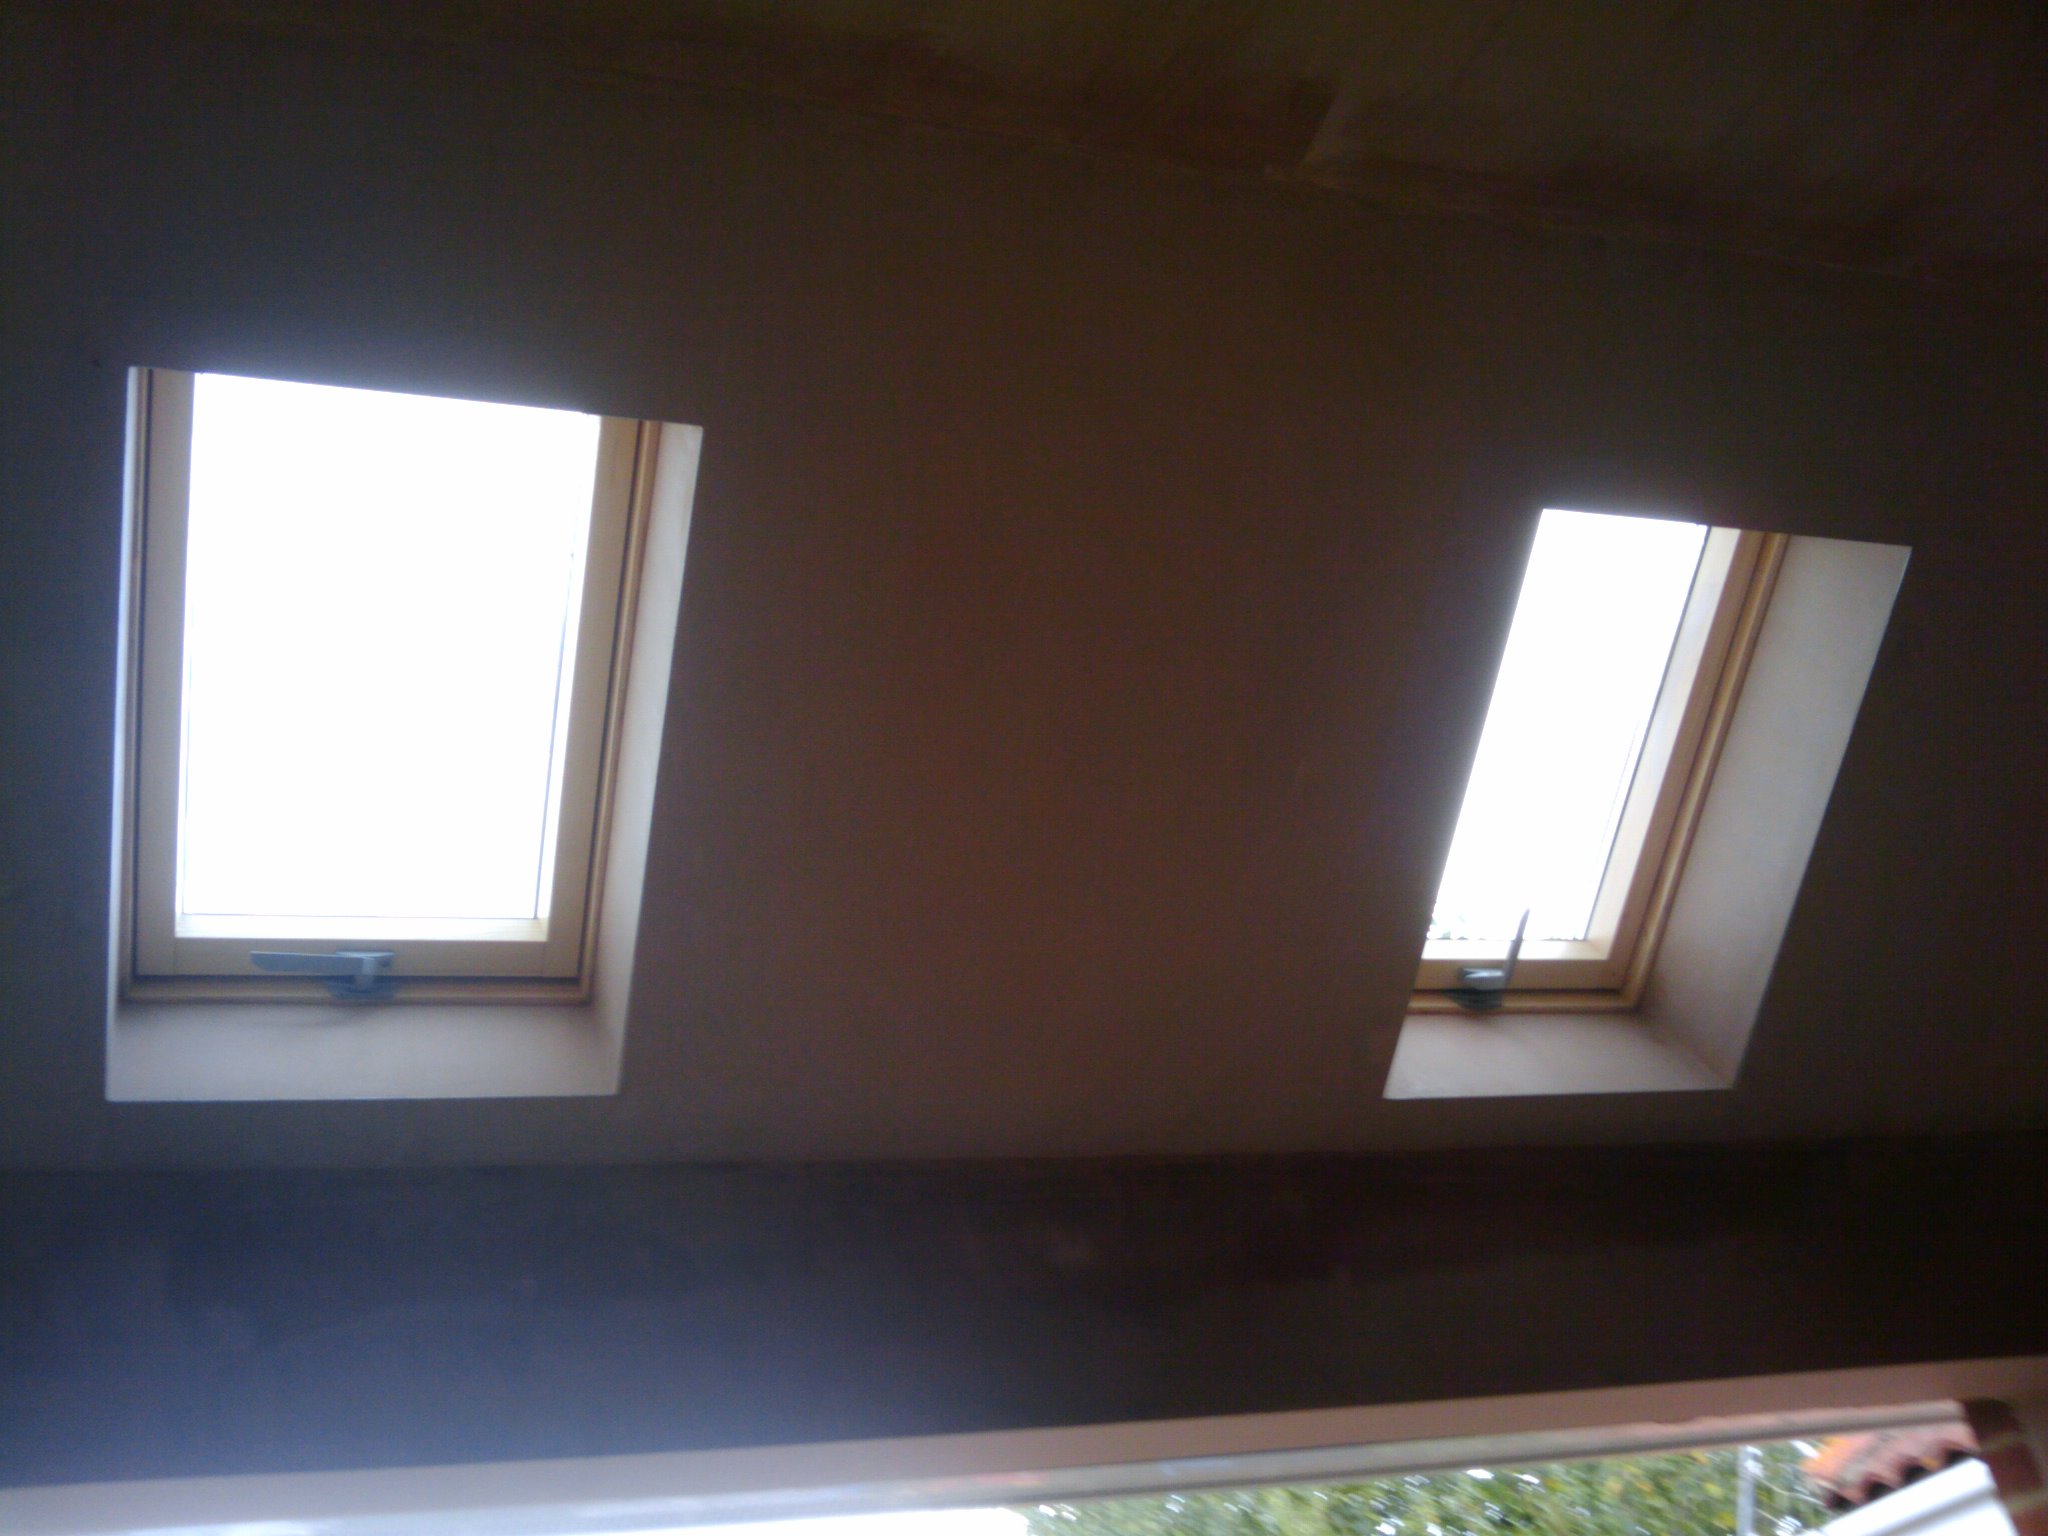
Roof lights plastered
Plastered around the old French doors
Some plaster on the ceiling – light cable can just be seen
What is left to do?
- Fit electric sockets and ceiling light
- Put down floor insulation and screed
- Install new French door and windows
- Remove old French door
- Add skirting boards
- Paint
- Move in 🙂
About 2 weeks to go. The room cannot be painted until the screed has dried out, so that will all be about a week on Tuesday.
Did the builder do he electrics himself lol
Yes. Why is that funny?
Because the wall boxes are not level, therefore the socket faces will be too.
The electric and av are not supposed to be level.