Day 9: Damp Course and Suspended Block and Beam Floor Laid
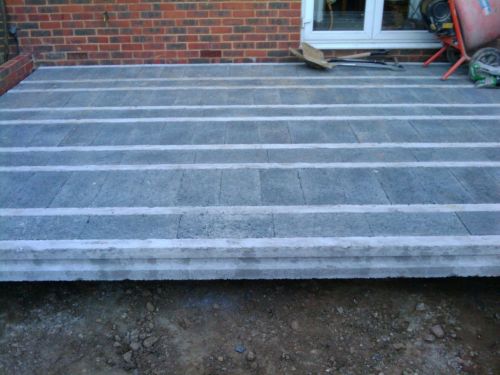
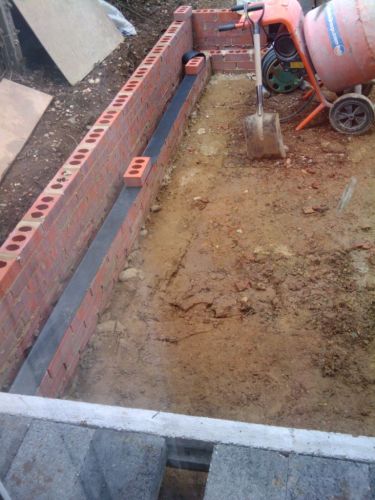
Today most of the suspended block and beam floor was put in. They needed an extra beam so could not complete today. They followed engineering specification for the size of the room but felt that there was too much movement so after consulting with the beam supplier decided to put them in closer together.
Once the beam and block floor is down it will be covered in “slurry” – fortunately not the sort farmers use – and then a layer of insulation (about 65mm I think), and then screed (around 60-80cm I think) which will bring the floor up to current height. All this adds more stability too.

Start of Day 8
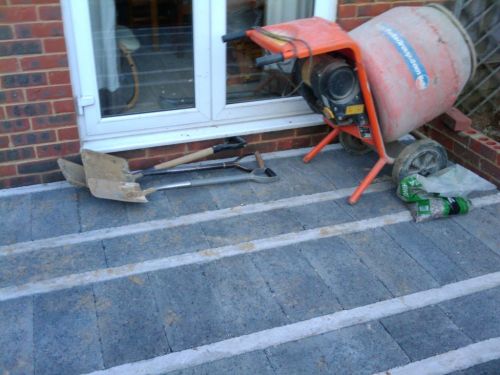
First row of blocks on 2 beams. Note, with blocks wide. Initially the whole floor would be like this.

After consulting with the beam men some blocks were placed lengthways, narrowing some beams, for extra stability.


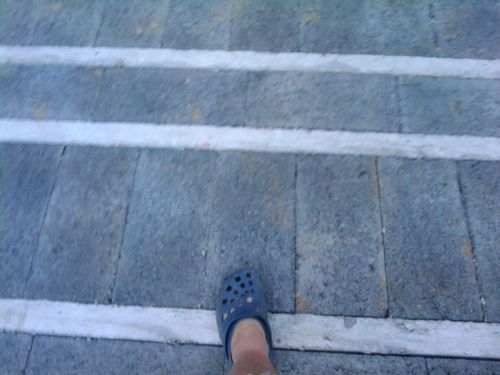
I take my first step onto my living room floor!

It is a suspended floor. I removed a empty Redbull bottle from under there after they left!

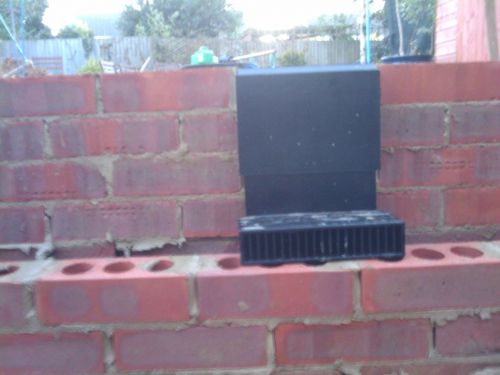
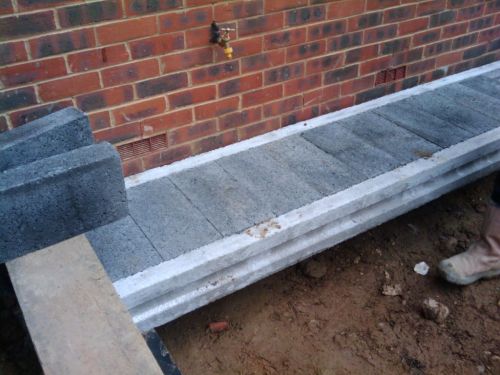
Air bricks going under the floor. Old air bricks were level with floor so bottom bricks removed to allow air floor. I got no photos but saw the holes (and the kids heard the noise!)

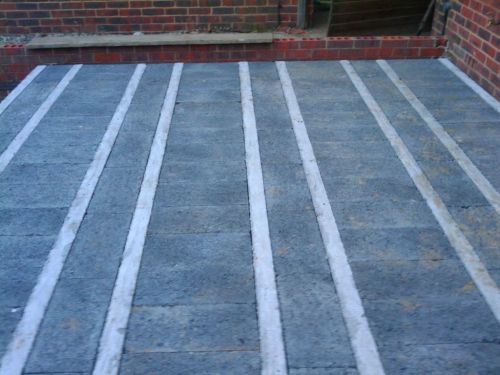
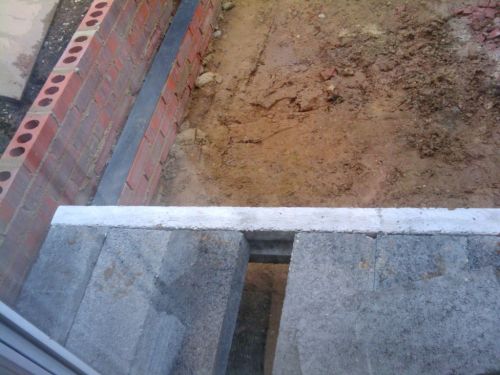
Better view of suspended floor.